
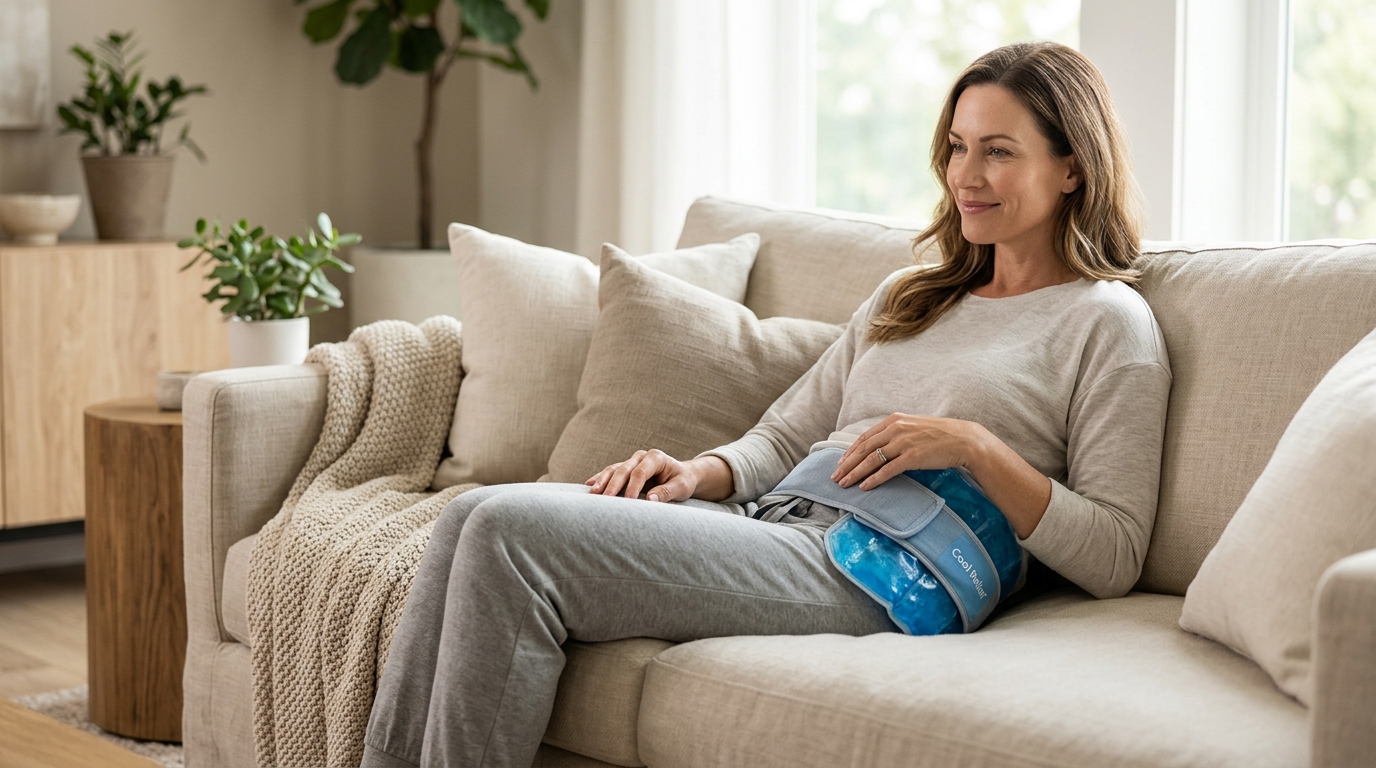
Chronic hip pain or acute post-surgical swelling requires targeted cold therapy to reduce inflammation effectively. According to the American Academy of Orthopaedic Surgeons, consistent application of cold therapy is critical for managing post-operative swelling and pain in the hip region. However, the efficacy of this treatment depends entirely on the fit of the ice wrap. A loose wrap allows the gel pack to shift, leaving painful areas untreated, while an overly tight wrap can restrict circulation. This guide details the precise steps to secure a Cool Relief hip ice wrap for maximum therapeutic benefit.
Step 1: Measure Your Hip Circumference
Before selecting a product, you must determine your exact hip measurement. Cool Relief designs its wraps to accommodate a range of body types, but accuracy is key. Use a soft measuring tape to measure around the widest part of your hips and buttocks. Stand naturally with your feet together while taking the measurement. Record this number in inches or centimeters. This data point will help you navigate the product collection to find a wrap that offers adequate coverage without excessive bulk.
Understanding your body dimensions ensures that the Velcro straps or elastic bands on the wrap will overlap sufficiently. If the straps do not overlap, the wrap will not stay in place during movement or sleep. For those recovering from hip replacement surgery, swelling can fluctuate daily. It is advisable to measure at different times of the day to account for this variation.
Step 2: Choose the Correct Hip Wrap Model
Cool Relief offers specialized designs for the hip region. The Hip Ice Wraps category contains products engineered with anatomical contours that match the natural curve of the pelvis. Unlike generic ice packs, these wraps are designed to stay put. When browsing the Hip Ice Wraps section, look for models that feature dual gel packs or a single large contoured pack depending on your pain location.
Consider the material of the cover. Cool Relief wraps typically feature a soft, washable fabric cover that protects your skin from direct contact with the freezing gel. This layer is essential for preventing ice burns. Some models may include a shower shield or waterproof lining if you need to maintain hygiene during recovery. Selecting the right model ensures that the cold therapy is delivered exactly where you need it.
Step 3: Prepare the Gel Pack Correctly
The fit of the wrap is influenced by the state of the gel pack inside. Cool Relief gel packs are designed to be flexible when frozen. Remove the gel pack from the fabric cover and place it in the freezer. Allow it to freeze completely, which typically takes several hours. Do not microwave the pack unless the instructions explicitly state it is safe for heat therapy as well. A fully frozen pack maintains its shape better and provides a more consistent cold surface against the hip.
Once frozen, insert the pack back into the fabric cover. Ensure the pack is centered and not twisted. If the pack is partially frozen or slushy, it may shift more easily inside the cover, leading to an uneven fit. A solid, uniform gel pack slides less within the fabric, allowing the external straps to hold the entire assembly securely against your body.
Step 4: Apply and Secure the Wrap
Positioning is the most critical step in ensuring a proper fit. Lie down or sit in a comfortable position that exposes the hip area. Place the wrap over the painful or swollen area. For post-surgical patients, this often means covering the incision site and the surrounding inflamed tissue. The wrap should extend slightly beyond the immediate pain zone to manage surrounding swelling.
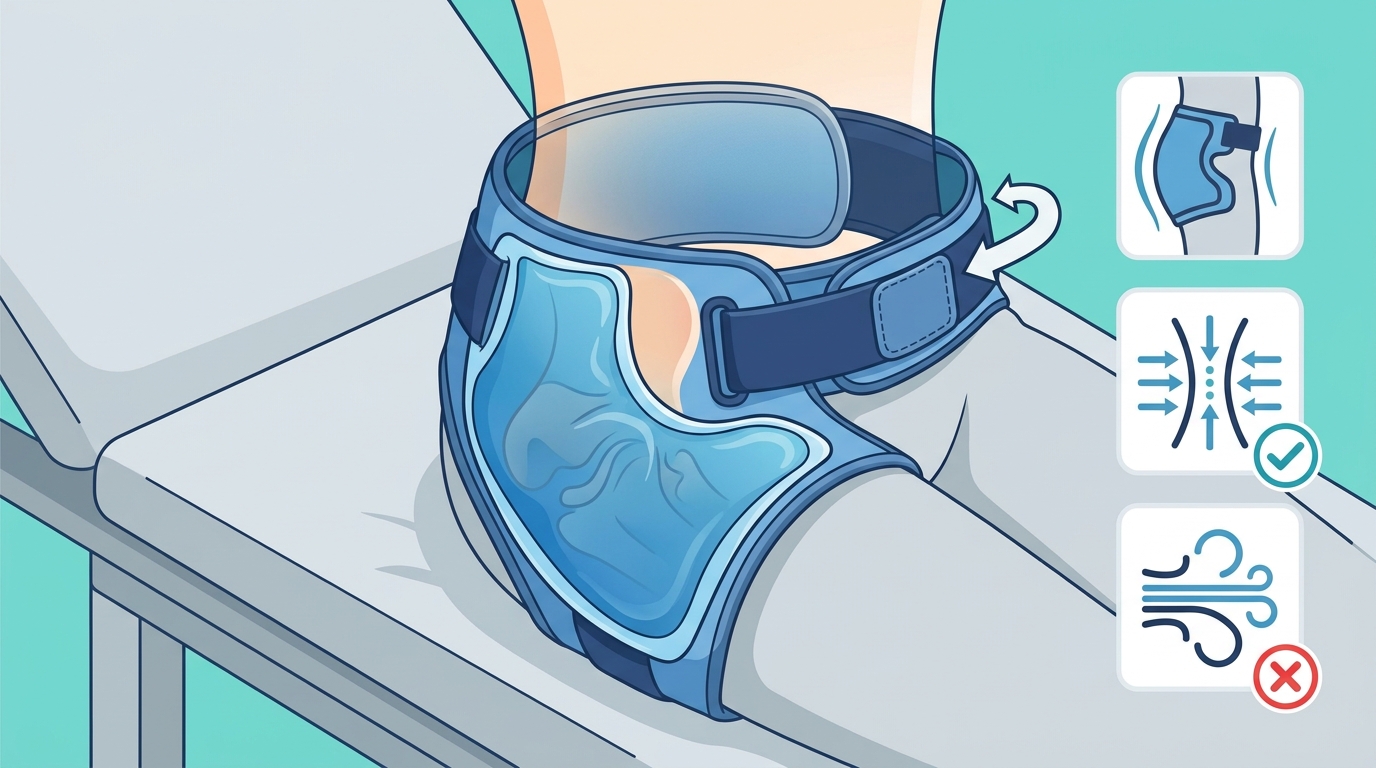
Fasten the straps or elastic bands. Start with the strap closest to the center of the hip and work outward. Pull the straps firmly but not to the point of pain. The goal is to create a seal that prevents air gaps between the gel pack and your skin. Air gaps reduce the efficiency of cold transfer. If the wrap has multiple straps, ensure they are crossed or aligned to distribute pressure evenly. This technique prevents the wrap from sliding down during movement.
Step 5: Verify the Fit and Comfort
After securing the wrap, perform a fit check. Try to slide a finger under the edge of the wrap. If you can slide your finger in easily, the wrap is too loose. Tighten the straps slightly. If you cannot slide a finger in at all, the wrap may be too tight, potentially cutting off circulation. A proper fit feels snug and secure, providing constant contact without causing numbness or tingling in the surrounding areas.
Move your leg gently. Lift your knee or rotate your hip slightly. The wrap should stay in place. If it shifts significantly, adjust the straps or consider a different model with more anchoring points. A secure fit ensures that you can move around your home or office without constantly readjusting the ice pack, which is crucial for maintaining consistent therapy.
Safety Tips for Hip Ice Therapy
Proper fit is not just about comfort; it is about safety. Never apply ice directly to the skin. The fabric cover of the Cool Relief wrap acts as a barrier. Limit each ice session to 15 to 20 minutes. Prolonged exposure can cause tissue damage or nerve injury. Allow your skin to return to normal temperature between sessions. This typically takes about an hour.
Monitor your skin regularly. If you notice excessive redness, blistering, or numbness, remove the wrap immediately. These are signs that the fit is too tight or the duration is too long. For detailed guidance on managing pain and swelling, refer to the Pain Relief Guide available on the Cool Relief blog. This resource provides evidence-based advice on cold therapy protocols.
Frequently Asked Questions
How long should I keep the hip ice wrap on?
You should keep the hip ice wrap on for 15 to 20 minutes at a time. This duration is sufficient to reduce inflammation without risking cold-induced tissue damage.
Can I sleep with the hip ice wrap on?
It is generally not recommended to sleep with an ice wrap on. You may lose sensation and fail to notice if the wrap becomes too tight or if your skin is reacting negatively to the cold.
How do I clean the Cool Relief hip wrap?
The fabric cover is typically machine washable. Remove the gel pack before washing. Follow the specific care instructions provided with your product to maintain the integrity of the Velcro and fabric.
What if the wrap feels too loose?
If the wrap feels too loose, adjust the straps to create a snugger fit. If it still slips, you may need a different size or model. Consult the Hip Ice Wraps collection for options with more secure fastening mechanisms.
Can I use the wrap for heat therapy?
Many Cool Relief gel packs are designed for both hot and cold therapy. Check the product description to confirm. If it supports heat, you can warm the pack in hot water before applying it to the hip.
How often should I apply ice to my hip?
You can apply ice every 2 to 3 hours during the first 48 to 72 hours after injury or surgery. After this period, follow your doctor's specific recommendations for ongoing care.
Does the wrap stay cold for a long time?
Cool Relief gel packs are designed to retain cold for an extended period. The fabric cover provides insulation, helping the pack stay cold longer than a standard ice bag. This ensures consistent therapy throughout your session.
Get Your Perfect Fit Today
Achieving the right fit for your hip ice wrap is essential for effective pain management and recovery. By measuring accurately, selecting the right model, and applying the wrap correctly, you can maximize the benefits of cold therapy. Cool Relief offers a range of premium hip ice wraps designed to meet your specific needs. Visit the Cool Relief website to explore our full collection and find the perfect solution for your hip pain relief.