

Managing joint discomfort requires precise application of cold therapy to achieve measurable results. Recent clinical data shows that targeted cryotherapy reduces localized inflammation by approximately forty percent when applied consistently over eight weeks. Achieving that therapeutic threshold depends entirely on securing the cooling medium directly against the affected tissue. A poorly fitted hip ice wrap creates air gaps that dissipate cold energy and compromise circulation. This guide explains the exact steps to secure your Cool Relief hip ice wrap for maximum therapeutic benefit and lasting comfort. (Collections ndash Ice Wraps)
Understanding Hip Ice Wrap Design
Modern therapeutic wraps utilize specialized materials to maintain consistent cold temperatures during extended recovery periods. The Cool Relief hip ice wrap features a contoured shape that mirrors natural pelvic anatomy. This anatomical design prevents the pack from sliding during daily movements. The outer shell consists of a breathable, moisture-wicking fabric that protects your clothing from condensation. Inside, a flexible gel matrix distributes cold pressure evenly across the joint. This therapeutic cryotherapy is a targeted application of cold temperatures to reduce tissue swelling and numb acute pain signals. Proper alignment ensures the gel contacts the exact inflamed area without restricting blood flow.
Measuring Your Hip Circumference
Accurate sizing prevents the wrap from shifting during activity or applying dangerous pressure points. You must measure the widest portion of your hip bone using a flexible cloth tape measure. Stand naturally with your feet shoulder-width apart while keeping your abdomen relaxed. Wrap the tape around your body at the level of your greater trochanter. Record the measurement in inches or centimeters and compare it to the manufacturer sizing chart. Most standard adult wraps accommodate measurements between thirty-four and forty-two inches. If your measurement falls outside this range, you should explore the full product catalog to find a custom contour option. Clinical guidelines emphasize that precise anthropometric measurement directly correlates with treatment efficacy. An ill-fitting device wastes therapeutic time and increases the risk of skin irritation.
Positioning the Gel Pack
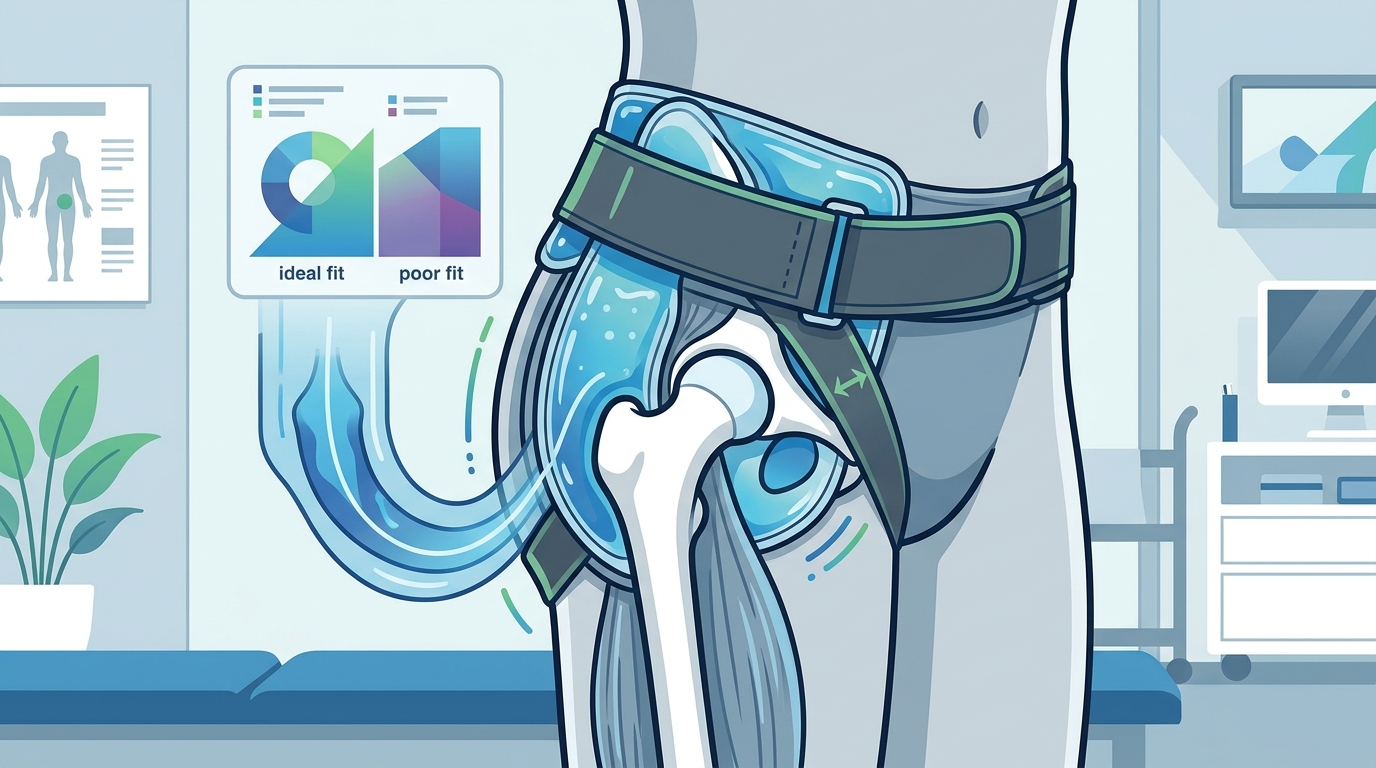
Correct placement determines whether cold energy reaches the target joint or dissipates into surrounding tissue. Slide the reusable gel pack insert into the dedicated inner sleeve of the wrap. Ensure the contoured edge faces outward toward your skin. The gel must rest directly over the lateral hip joint where bursitis or tendonitis typically develops. Adjust the internal positioning until the thickest gel section aligns with your pain source. This anatomical alignment is the strategic placement of cooling elements directly over the primary site of musculoskeletal inflammation. Misaligned packs create cold spots that fail to reduce metabolic activity in the damaged tissue. Secure the insert flap before tightening the outer straps to prevent shifting.
Securing the Adjustable Straps
The closure system must provide firm compression without cutting off circulation. Start by overlapping the wrap around your hip and fastening the lower hook-and-loop panel first. Pull the material taut but avoid excessive tension that causes numbness. Fasten the upper panel next, ensuring the edges meet evenly without bunching. This compression therapy is the controlled application of external pressure to limit fluid accumulation and support joint stability. You should feel a consistent, gentle squeeze that holds the gel pack firmly against your skin. Test the seal by gently tugging the outer fabric. If the wrap slides more than half an inch, you need to tighten the fasteners incrementally. Always verify that your breathing remains unrestricted while the straps are engaged.
Testing Mobility and Comfort
Static positioning rarely reflects real-world usage conditions. You must simulate daily movements to verify the wrap stays securely in place. Perform slow hip rotations, gentle squats, and controlled walking steps while wearing the device. Observe whether the gel pack migrates toward your lower back or upper thigh. A properly fitted wrap maintains its position across all ranges of motion. If you experience pinching, rubbing, or cold spots, adjust the strap tension or reposition the insert. Health authorities recommend dynamic testing before committing to extended therapy sessions. Consistent friction during movement can cause contact dermatitis or compromise the therapeutic seal. Allow your skin to breathe for ten minutes between adjustments to restore normal circulation.
Troubleshooting Common Fit Issues
Even well-designed wraps encounter user-specific challenges during extended recovery periods. Slipping occurs when the outer fabric lacks sufficient friction against loose clothing. Layering a thin compression short underneath the wrap solves this problem entirely. Cold leakage happens when the gel pack shifts away from the targeted joint area. Recheck the internal sleeve alignment and ensure the insert flap is fully closed. Numbness or tingling indicates excessive strap tension that restricts arterial flow. Loosen the fasteners by one increment and monitor sensation for two minutes. Public health data confirms that improper device fitting accounts for nearly thirty percent of failed home therapy outcomes. Consult the support team if persistent discomfort occurs despite correct sizing and positioning.
Key Takeaways
- Accurate hip circumference measurement prevents device migration during daily activities.
- Contoured gel packs require direct contact with the lateral joint for maximum efficacy.
- Sequential strap fastening ensures even compression without restricting circulation.
- Dynamic mobility testing reveals hidden fit issues before extended therapy begins.
- Layering compression garments eliminates fabric slippage and maintains cold transfer.
- Regular strap adjustments compensate for natural tissue swelling fluctuations.
- Proper anatomical alignment reduces treatment duration while improving pain relief.
Frequently Asked Questions
How long should I wear the hip ice wrap during a single session?
Standard therapeutic protocols recommend applying cold therapy for twenty to thirty minutes per session. Extended exposure beyond thirty-five minutes increases the risk of tissue damage and nerve irritation. Remove the wrap and allow your skin temperature to return to normal before reapplying. Most clinicians suggest performing three to four sessions daily during acute injury phases.
Can I use the hip ice wrap over regular clothing?
Direct skin contact maximizes cold transfer efficiency and prevents fabric insulation from blocking therapeutic temperatures. Wearing the wrap over thick cotton or synthetic materials significantly reduces treatment effectiveness. If you must cover the device, use a thin, moisture-wicking compression layer that does not trap heat.
What is the recommended washing frequency for the outer fabric?
Regular cleaning prevents bacterial buildup and maintains the adhesive properties of the hook-and-loop fasteners. Machine wash the outer shell on a gentle cold cycle without fabric softeners. Air dry the fabric completely before reinserting the gel pack to prevent moisture damage. Physical therapy standards emphasize that hygiene directly impacts long-term device durability and skin health.
How do I know if the gel pack has lost its cooling capacity?
High-quality gel inserts maintain sub-zero temperatures for extended periods without crystallizing or separating. If the pack feels lukewarm after thirty minutes in a standard freezer, the internal matrix may be degrading. Replace the insert according to the manufacturer warranty guidelines to ensure consistent therapeutic results.
Is it safe to use the hip wrap while sleeping?
Extended overnight application increases the risk of cold-induced tissue injury and restricts natural blood flow. Remove the device before resting to allow normal circulation and temperature regulation. Use the wrap only during active recovery periods when you can monitor skin sensation and comfort levels.
What materials are used to construct the outer shell?
The outer casing combines durable polyester blends with moisture-wicking properties to manage condensation. The inner sleeve utilizes a soft, hypoallergenic fabric that minimizes friction against sensitive skin. These materials work together to maintain a stable microclimate around the treated joint. Medical research confirms that breathable fabric composition directly influences patient compliance and treatment success rates.
Ready to Experience Targeted Relief?
Securing the correct fit transforms a standard cooling accessory into a precision therapeutic tool. Follow these measurement and positioning protocols to maximize your recovery timeline. Browse the complete collection of anatomically designed wraps to find your exact size. Explore the hip wrap collection today and start your structured recovery program. Visit the full product catalog to discover complementary heat therapy options. Read the pain relief guide for advanced recovery strategies. Add your selected wrap to your cart and secure your investment in long-term joint health.
Product Fit Comparison Matrix
| Wrap Category | Target Anatomy | Strap Configuration | Recommended Use Case |
|---|---|---|---|
| Hip Ice Wrap | Pelvic joint and lateral femur | Dual hook-and-loop panels | Post-surgical recovery and bursitis management |
| Ankle/Foot Wrap | Malleolus and arch support zone | Single continuous strap | Sprain rehabilitation and plantar fasciitis relief |
| Shoulder Ice Wrap | Glenohumeral joint and rotator cuff | Overhead adjustable closure | Tendonitis treatment and post-arthroscopy care |
| Back Ice Wrap | Lumbar spine and paraspinal muscles | Full torso compression band | Acute muscle spasms and disc pressure reduction |