
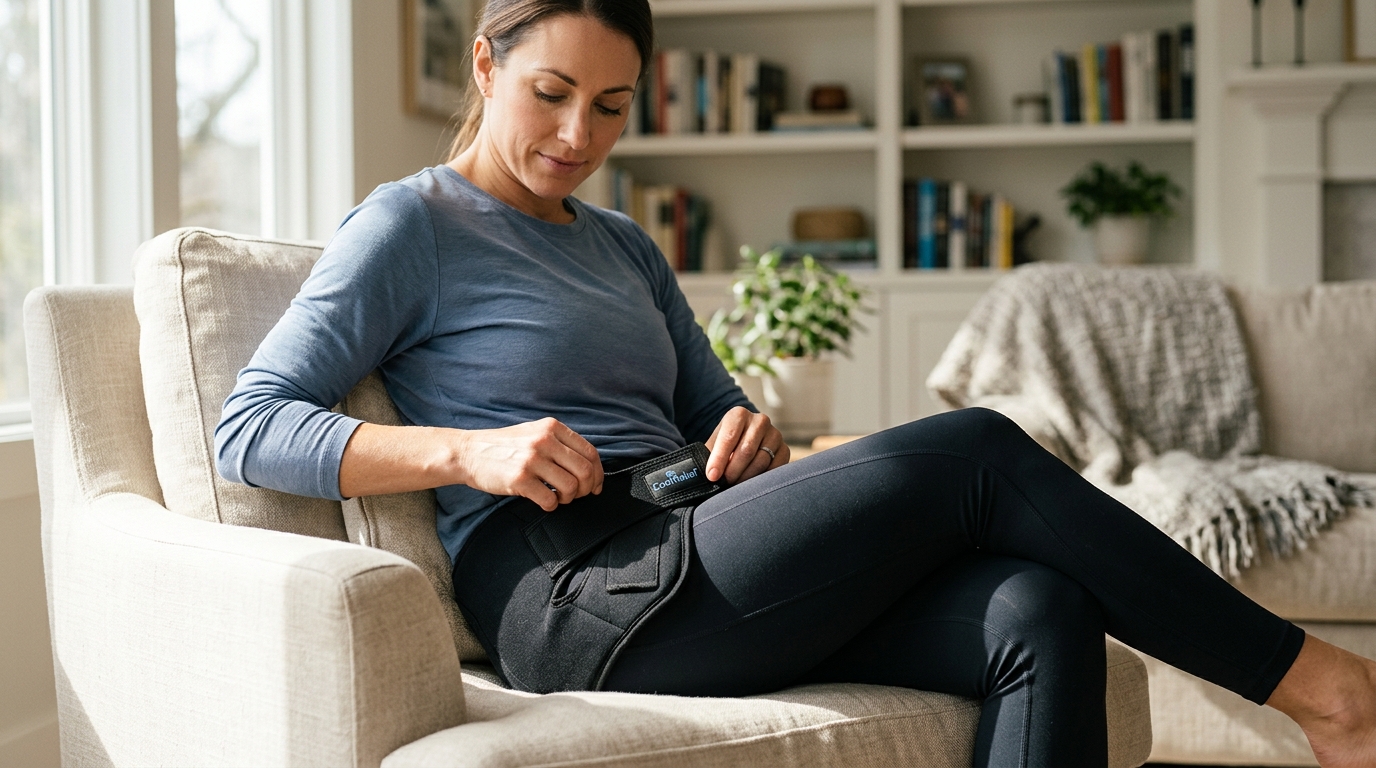
Effective cold therapy relies heavily on the precision of your application. According to the American Physical Therapy Association, consistent ice therapy can significantly reduce inflammation and pain in acute joint injuries. However, the efficacy of that therapy drops sharply if the gel pack does not maintain direct contact with the target tissue. A loose wrap allows the cold to dissipate into the air rather than penetrating the hip joint. This guide details the exact steps to secure your Cool Relief hip ice wrap for maximum therapeutic benefit. (Cool Relief Ice Wraps)
Understanding the Design of Hip Ice Wraps
Before applying the device, you must understand its structural components. Cool Relief designs its hip ice wraps with a specific anatomical contour. Unlike generic gel packs, these wraps are engineered to curve around the greater trochanter and the lateral hip joint. The Cool Relief official website highlights that their products utilize a proprietary gel formula that remains pliable even at freezing temperatures. This flexibility is critical for conforming to the body's natural curves without creating pressure points.
The wrap typically features a central gel pocket surrounded by a durable, waterproof outer shell. This shell prevents condensation from damaging your clothing or bedding. Inside the gel pocket, the substance is designed to distribute cold evenly. If the gel clumps or freezes into a solid block, it will not mold to your hip. Therefore, the initial preparation phase is just as important as the application itself. (Ankle Foot Wraps for)
Preparation and Freezing Protocols
Proper fit begins before the wrap touches your skin. You must ensure the gel pack is in the correct state of coldness. If the gel is too rigid, it will not conform to your hip's shape. If it is too warm, it will not provide adequate vasoconstriction. The standard protocol for most medical-grade ice wraps involves freezing the pack for a specific duration, usually between four to six hours. This ensures the gel reaches a uniform temperature throughout the entire pack.
Once removed from the freezer, allow the wrap to sit for approximately thirty seconds. This brief pause allows the outer surface to warm slightly, preventing thermal shock to the skin while maintaining the core temperature needed for therapy. Do not attempt to use the wrap if it feels excessively hard or if the gel has separated. A properly prepared hip ice wrap should feel firm yet slightly yielding to the touch. This state ensures that when you apply pressure via the straps, the pack will mold to your anatomy rather than shifting around it.
Positioning the Wrap Correctly
Correct anatomical placement is the most critical factor in achieving a proper fit. The hip joint is a ball-and-socket joint, and inflammation often occurs in the lateral aspect, near the top of the thigh. To position the wrap correctly, lie down on a flat surface or sit in a chair with your legs slightly apart. This position relaxes the hip flexors and makes the area more accessible.
Identify the point of maximum pain or swelling. This is typically located just below the iliac crest and above the femur. Place the center of the gel pack directly over this area. The wrap should cover the joint line, not just the muscle above or below it. If the wrap is positioned too high, it will miss the joint capsule. If it is positioned too low, it will slide down the thigh during movement. The goal is to have the gel pocket centered on the hip joint axis.
Securing the Straps for Stability
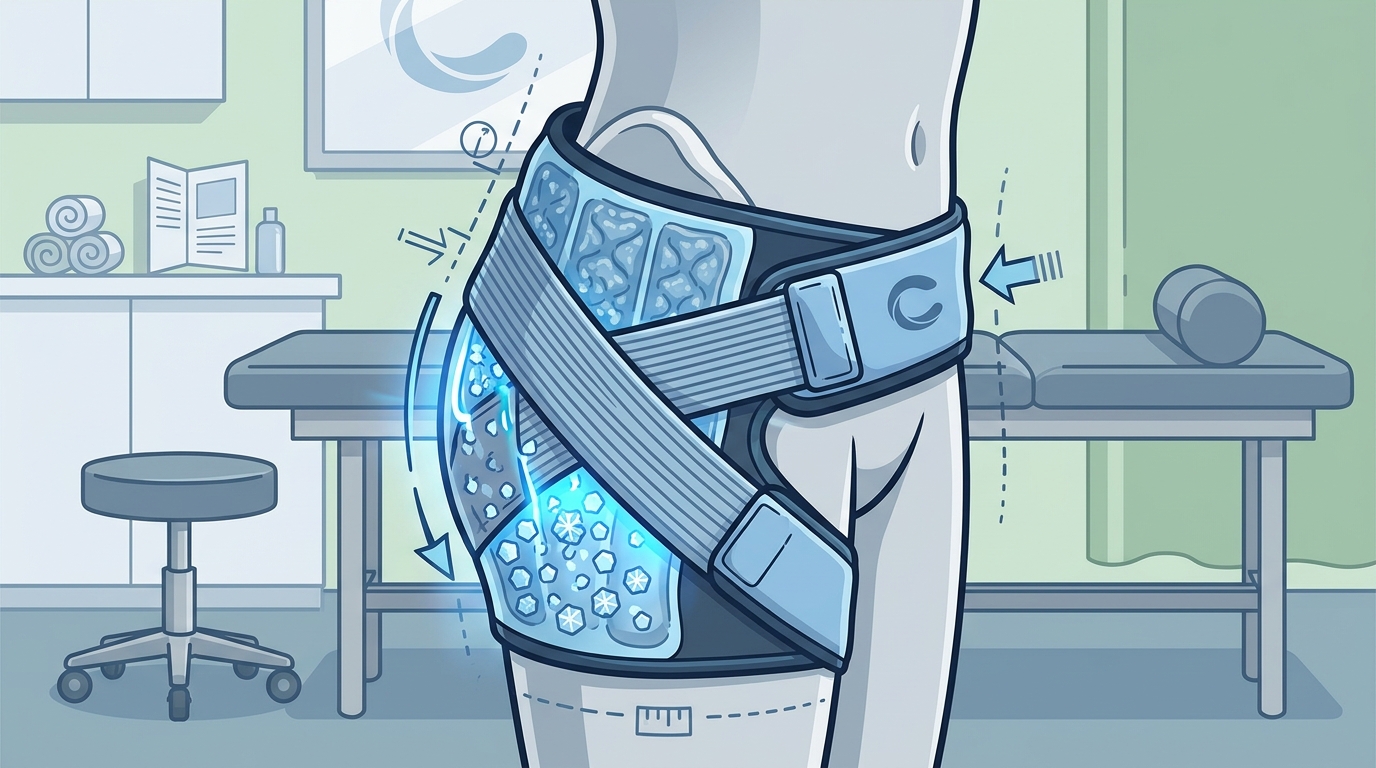
Once the wrap is centered, you must secure it using the integrated straps. Cool Relief hip ice wraps typically feature dual or triple strap systems to accommodate different body types. Start by pulling the straps across the front of your hip. Do not pull them too tightly at this stage. The goal is to hold the pack in place while you adjust the angle.
Next, wrap the straps around the back of your hip and thigh. The straps should cross in an 'X' or 'H' pattern, depending on the specific model you are using. This crossing pattern creates a locking mechanism that prevents the wrap from sliding down. Tighten the straps incrementally. You should feel a firm compression that holds the gel pack against your skin. If the straps are too loose, the wrap will shift with every minor movement. If they are too tight, you risk cutting off circulation, which can cause nerve damage or skin irritation.
Checking the Seal and Contact
After securing the straps, perform a fit check. Stand up slowly and walk a few steps. The wrap should remain in the same position. If it slides down, the straps are too loose or the angle is incorrect. Adjust the straps and re-tighten. You should also check for gaps between the gel pack and your skin. A proper fit requires full contact. If there are gaps, the cold will not transfer efficiently.
Use your hands to press the edges of the wrap against your hip. The waterproof shell should conform to the curve of your body. If you feel hard edges digging into your skin, the wrap is not fitting correctly. This indicates that the gel pack may be too rigid or that the straps are unevenly tensioned. Adjust the tension on each strap individually until the pressure is distributed evenly. A well-fitted hip ice wrap should feel secure but not restrictive. You should be able to move your leg slightly without the wrap shifting.
Safety Limits and Treatment Duration
Even with a perfect fit, you must adhere to strict time limits. Prolonged exposure to cold can cause tissue damage. The general medical guideline is to limit ice therapy sessions to twenty minutes at a time. After twenty minutes, remove the wrap and allow your skin to return to normal temperature. This cycle can be repeated every two to three hours during the first forty-eight hours after an injury.
Always place a thin towel between the wrap and your skin if you have sensitive skin or poor circulation. This barrier prevents frostbite while still allowing cold transmission. Monitor your skin regularly during the session. If you experience numbness, burning, or intense pain, remove the wrap immediately. A proper fit should never cause discomfort beyond the intended cold sensation. If the straps cause redness or indentations that last more than a few minutes after removal, loosen the fit for your next session.
Key Takeaways
- Anatomical Centering: The gel pack must be centered directly over the hip joint, not the surrounding muscle tissue.
- Gel State: Ensure the gel is pliable but cold. Allow a thirty-second rest after freezing to prevent thermal shock.
- Strap Tension: Use an incremental tightening method. The wrap must resist sliding during movement but not cut off circulation.
- Fit Verification: Walk around after application. If the wrap shifts, the fit is inadequate.
- Time Limits: Never exceed twenty minutes per session to avoid tissue damage.
- Barrier Protection: Use a towel for sensitive skin to prevent frostbite while maintaining efficacy.
- Product Quality: Cool Relief wraps are designed with flexible gel that conforms to the body, reducing the need for excessive strap tension.
Frequently Asked Questions
How long should I freeze my Cool Relief hip ice wrap?
You should freeze your hip ice wrap for four to six hours to ensure the gel reaches a uniform temperature. This duration allows the gel to become pliable yet cold enough for effective therapy.
Can I wear the hip ice wrap while walking?
Yes, the straps are designed to hold the wrap securely in place during light movement. However, you should avoid strenuous activity while wearing the wrap to prevent dislodgement or injury.
What is the proper tension for the straps?
The straps should be tight enough to prevent the wrap from sliding but loose enough to allow normal blood flow. You should be able to slide a finger under the strap with slight resistance.
How often can I use the hip ice wrap?
You can use the hip ice wrap every two to three hours during the acute phase of an injury. Limit each session to twenty minutes to prevent tissue damage.
Does the wrap fit all hip sizes?
Cool Relief hip ice wraps are designed with adjustable straps to accommodate a wide range of body types. The flexible gel pack also conforms to different hip shapes for a secure fit.
What should I do if the wrap feels too cold?
If the wrap feels excessively cold or causes pain, remove it immediately. Allow your skin to warm up before trying again. You may also place a thin towel between the wrap and your skin for the next session.
Can I use the hip ice wrap for heat therapy?
Some Cool Relief products are designed for both ice and heat therapy. Check the product packaging to confirm if your specific hip wrap is suitable for heat application. If it is, you can fill it with warm water instead of freezing it.
Get Your Cool Relief Hip Ice Wrap
Achieving the right fit is essential for effective pain relief. By following these steps, you can ensure that your Cool Relief hip ice wrap provides maximum therapeutic benefit. Visit the Cool Relief Hip Ice Wrap collection to find the perfect product for your needs. Secure your wrap today and start your journey toward lasting comfort.